Recently added
More...Categories
Suppliers
Newsletter
Once, twice in month we will send You info about new products, products on sale and news from Arduino and DIY world.
tinyBrd 2.0 - wireless sensor - Arduino IDE compatible

ATtiny84 that can be programmed with Arduino IDE, add wireless transmission, less than 5 µA during sleep - you can build wireless mesh of ie.temperature sensors with central unit that will collect all values.
On stock:
 43
43

Green PCB
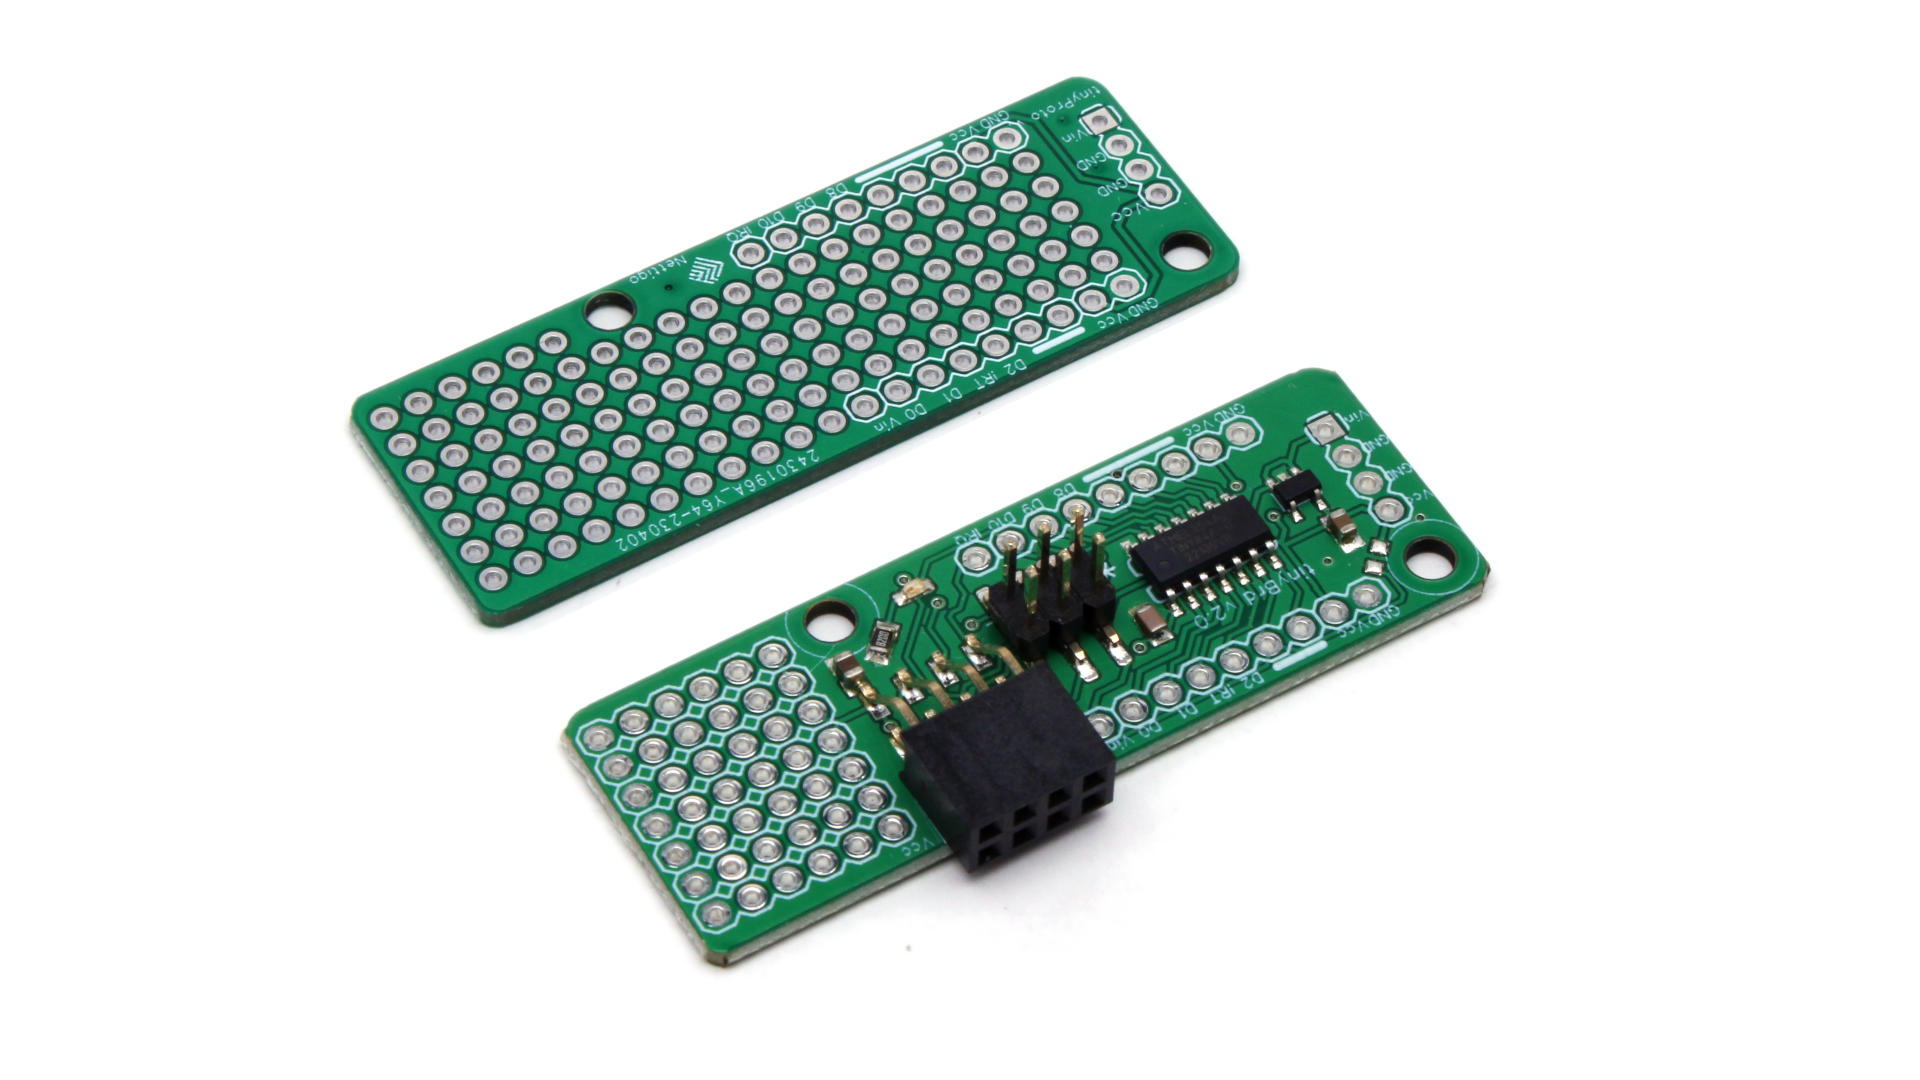
Current tinyBrd modules (and proto boards) are on green PCB. Also onboard LED is green, not red.

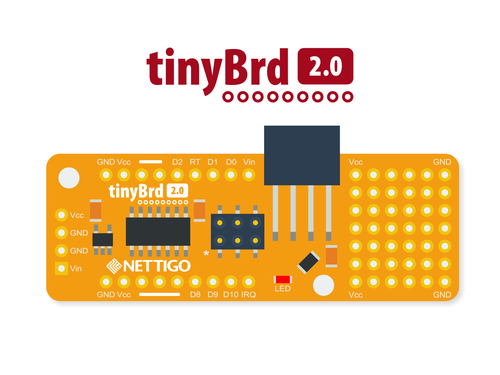
We introduce you a tinyBrd 2.0 - successor of tinyBrd 1.2. New version is smaller, however it has significantly larger prototype field. New additions are on board voltage regulator which supports up to 16V and builtin LED.
tinyBrd - what is it?
tinyBrd is a development board for testing and building wireless sensors. It’s very small, it has ATtiny84, connector for nrf24L01+ radio and prototype field. You may ask what about software? We’ve prepared for you a package with everything that you need to program this board through Arduino IDE (boards module and libraries). The software is in constant development, each release brings new functionality and additional libraries.
Wireless communication You only need to write the address of the main unit (receiver), then you define data structure and everything is ready to be send.
Sleep mode By calling one function you’re sleeping down the ATtiny and nrf24L01+ for previously defined time. During sleep mode tinyBrd is consuming lest than 5 µA! During transmission power consumption increases up to 15 mA. Actually you may achieve even less than 1 µA by using tinyBrd in deep sleep mode utilizing pin change interrupts. Depending on configuration - it means months on single CR2032 battery cell.
Battery monitor Because we’ll be mostly using tinyBrd as a standalone sensor, we decided to add function that checks battery level and send a report to main unit.
What else you’ll need?
For programming we suggest USBasp or Arduino UNO as a programmer. In version 2.0 we changed programming socket. You may need ISP 10 to 6 pin adapter. Please be aware, that tinyBrd 2.0 comes without goldpins. You will need them if you are planning to use tinyBrd on breadboard.
You may find proto board for tinyBrd very useful.
Power supply
Version 2.0 is quite different than previous 1.2. This is definitely change for good. Previously it was common mistake to connect 5V to tinyBrd with NRF24L01+ - resulting in damaging of NRF radio. That’s why we decided to put voltage regulator (LDO) on board. Now you may supply tinyBrd with voltage up to 16V. Also it’s now safe to power the board from 5V programmer with connected NRF modem. tinyBrd 2.0 has two voltage inputs: Vin - connected to LDO (up to 16V) nad Vcc - which bypass LDO (up to 3.6V).
Depending of project you may use CR2032 battery, double AA batteries in easy to use box or even 9V battery. Possibilities are almost endless. The rule of thumb is that everything below 3.6V should be connected do Vcc (please notice that fully charged AA rechargeable battery has 1.4V, so 3xAA may supply 4.2V so it should be connected to Vin)
Power consumption in sleep mode:
- 20-30 µA power connected to Vin (3.6-16V)
- 7 µA - power connected to Vcc (max 3.6V directly to Vcc, Vin connected to GND)
- <5 µA - power connected to Vcc and by cutting trace between Vcc and LDO
After cutting the trace between Vcc and LDO you can no longer supply the board with voltage above 3.6V, but it will be more energy efficient - exact the same as tinyBrd 1.2.
Content of this set
This product contain assembled and ready for work tinyBrd 2.0 board and NRF24L01+ modem. You may also pick NRF24L01+ PA+LNA as option instead of regular NRF. Please notice, that you will need one more additional NRD24L01+ modem and receiver (eg. Raspberry Pi, Arduino UNO or another tinyBrd board).
NRF24L01 PA+LNA
This board works also with NRF24L01+ PA+LNA, offers better range, however current consumption will be higher.
If you are looking for easy way of connecting NRF24L01+ to Raspberry Pi please look at our NRF HAT. No additional cables are required.
Documentation
New docs site: since 2023 we started moving docs to new place, currently tinyBrd docs are in Polish, but we plan to translate them. See Docs.Nettigo.
You can find tutorials on how to use Nettigo tinyBrd at our site. At this moment tutorials are only in Polish language. Main documentation page in Polish. Documentation in English is work in progress, go to our post on StarterKit to read more
Quick start: Add to Board Manager new board using this URL: http://static.nettigo.pl/tinybrd/package_nettigo.pl_index.json Install tinyBrd Core using Board Manager. Arduino IDE is ready to work with tinyBrd.
tinyBrd board 3D model, sample cases designed for 3D printing and graphic vector files may be downloaded from Google drive

Specification:
- ATtiny84 MCU, internal oscillator 8 MHz or 1 MHz
- NRF24L01+ connector
- size 58.8 mm x 21.0 mm
- when NRF is connected ports D3, D4, D5, D6 and D7 are used to communicate with NRF
- power consumption in sleep mode (3.3V connected to Vcc, cut trace Vcc-LDO): <5 µA, during transmission 15 mA
- power consumption in deep sleep mode (IRQ pin change): <1 µA
Pinout:


On board are brought all ATtiny IO ports, however D3,D4,D5,D6 and D7 are used by NRF. You can not use it as generic IO when NRF is in use.
Hardware version history
- v0.2 - first public release
- v1.0 from Jul 2015
- fixed silkscreen
- IRQ signal from NRF brought out on PCB
- better position for power pins
- v1.1 from Oct 2015
- NRF24L01 now in vertical position (better range and reliability)
- 1 µF capacitor on Vcc line of ATtiny
- rounded PCB
- v1.2 - from 4.02.2016
- NRF connector changed from THT to SMD one
- v2.0 - od 20.06.2016
- new shape - smaller PCB total area
- larger prototype field (42 pins)
- new LDO allows to supply board with voltage up to 16V
- you may now power the board and NRF from programmer
- socket ISP 6 pin
- LED on pin 10
Software version history
- v0.2 - 2015.07.21 - very first public Core, Arduino IDE 1.6.5 compatible
- v1.1 - 2015.12.31 - Arduino IDE 1.6.7 compatible
- v1.1a - 2016.01.19 - Arduino IDE 1.6.7 compatibility fixes
- v1.1b - 2016.02.04 - fixed error. Now power consumption drops to 4-5 µA in sleep mode
- v1.2 - 2016.04.20 - Pin Change Interrupts
- v1.2.1 - 2016.04.21 - watchdog fix
Eagle files for tinyBrd 2.0
Recently added
More...Categories
Suppliers
Newsletter
Once, twice in month we will send You info about new products, products on sale and news from Arduino and DIY world.


